Raspberry Pi: Setup and use as Home Assistant device to control your smarthome
Raspberry Pi: Setup and use as Home Assistant device to control your smarthome
Getting Started with Raspberry Pi as a Home Assistant Device:
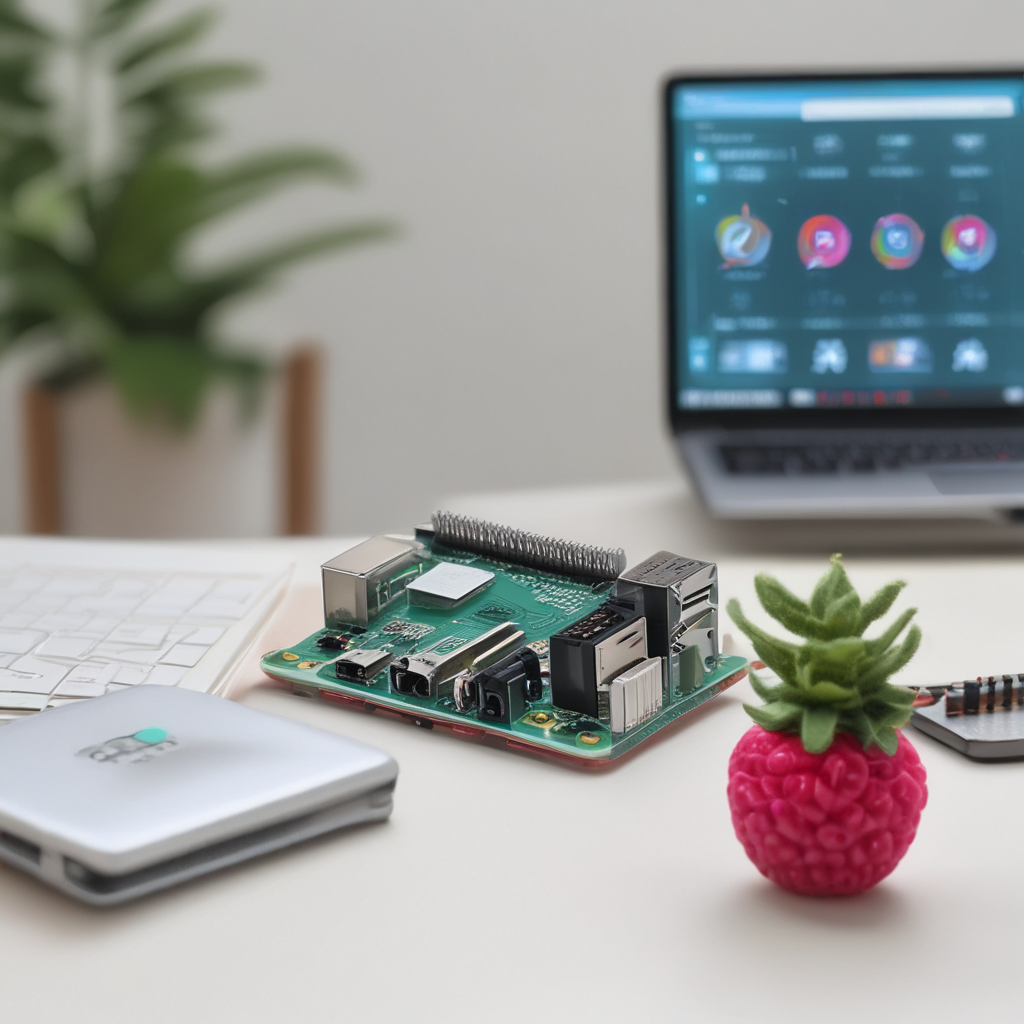
The Raspberry Pi is a versatile and affordable single-board computer that has gained immense popularity in recent years. Its small size, low power consumption, and wide range of connectivity options make it an ideal choice for various applications, including home automation. In this article, we will guide you through the process of setting up and using a Raspberry Pi as a Home Assistant device to control your smart home.
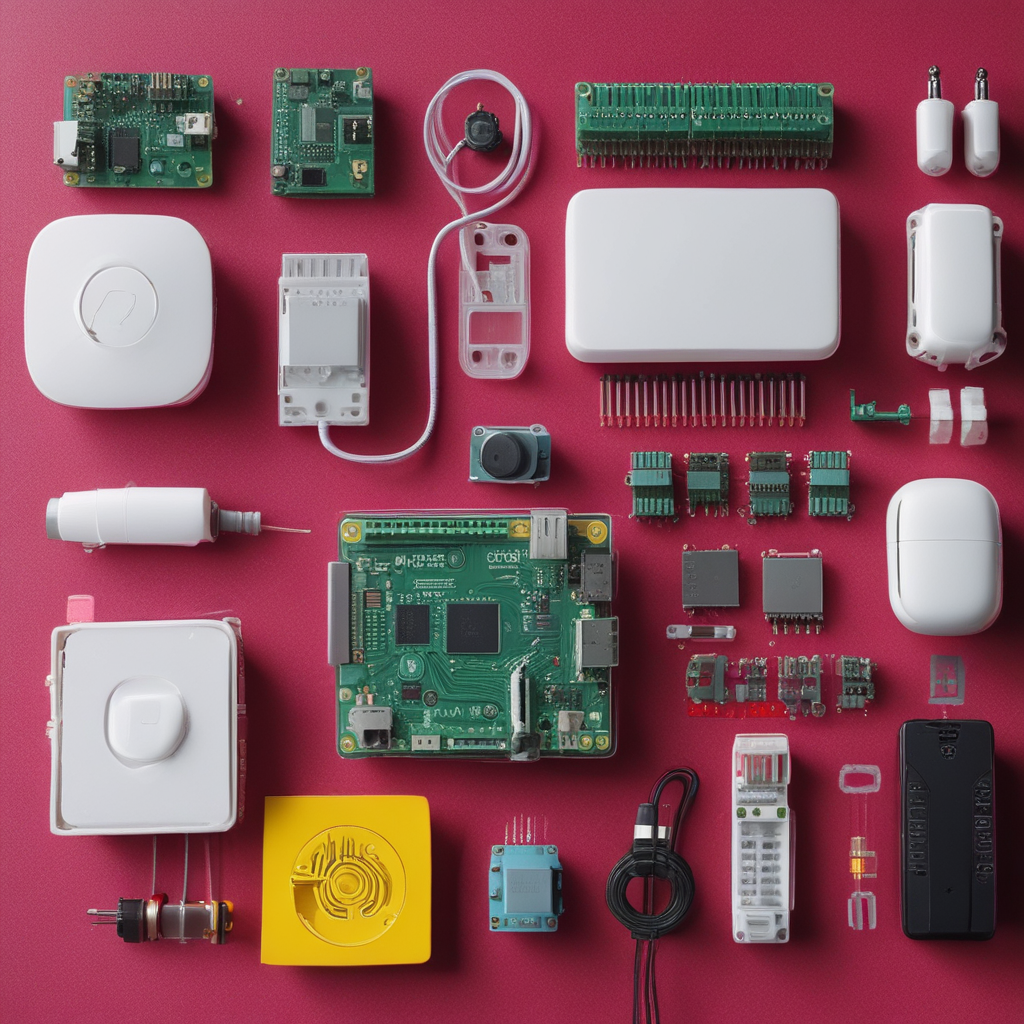
Before we begin, it’s essential to ensure that you have the necessary hardware and software requirements. You will need a Raspberry Pi 3 or 4 model, a microSD card (at least 8GB), a power supply (5V/2.5A), a keyboard, a mouse, and a monitor or TV with an HDMI input. Additionally, you will need an Ethernet cable or a Wi-Fi adapter to connect your Raspberry Pi to the internet.
Step 1: Install the Operating System
The first step is to install the Raspberry Pi operating system, which is called Raspbian. You can download the latest version of Raspbian from the official website and write it to the microSD card using a tool like Etcher. Once the operating system is installed, insert the microSD card into the Raspberry Pi and connect the power supply.
Step 2: Connect to the Internet
If you’re using an Ethernet cable, connect it to the Raspberry Pi and your router. If you’re using a Wi-Fi adapter, insert it into the USB port of the Raspberry Pi and connect to your Wi-Fi network.
Step 3: Update the Operating System
After connecting to the internet, open the terminal by pressing Ctrl + Alt + T. Type the following command to update the operating system:
sudo apt-get update
This command will download the latest package lists from the repositories and update the local package database.
Step 4: Install Home Assistant
Home Assistant is an open-source home automation software that runs on the Raspberry Pi. To install Home Assistant, type the following command:
sudo apt-get install home-assistant
This command will download and install Home Assistant on your Raspberry Pi.
Step 5: Configure Home Assistant
After installing Home Assistant, open a web browser and navigate to http://your-raspberry-pi-ip-address:8123. This will open the Home Assistant configuration page. Follow the on-screen instructions to configure your Home Assistant device.
Step 6: Add Devices
Home Assistant supports a wide range of devices, including smart plugs, thermostats, cameras, and sensors. To add a device, go to the Configuration tab and click on the Integrations option. Search for the device you want to add and follow the on-screen instructions to configure it.
Step 7: Create Automations
Automations allow you to automate tasks based on specific conditions. For example, you can create an automation that turns on the lights when you enter a room. To create an automation, go to the Configuration tab and click on the Automations option. Follow the on-screen instructions to create your automation.
Step 8: Use Home Assistant
After configuring your Home Assistant device, you can use it to control your smart home. Open the Home Assistant web interface and click on the Devices tab to view your devices. Click on a device to control it or view its status.
In conclusion, setting up and using a Raspberry Pi as a Home Assistant device is a straightforward process. By following the steps outlined in this article, you can create a smart home that is both affordable and customizable. Remember to always ensure that your Raspberry Pi is secure and up-to-date by regularly updating the operating system and configuring the firewall. Happy automating!
a. Choosing the Right Raspberry Pi Model: The Raspberry Pi 4 Model B is the recommended choice for Home Assistant due to its improved performance and power efficiency
As the world becomes increasingly connected, the demand for smart homes has skyrocketed. Smart homes offer convenience, energy efficiency, and security, making them an attractive option for homeowners. However, setting up a smart home can be a daunting task, especially for those who are not tech-savvy. That’s where the Raspberry Pi comes in.
The Raspberry Pi is a small, affordable computer that can be used for a variety of purposes, including as a Home Assistant device. Home Assistant is an open-source home automation software that allows you to control your smart home devices using a web interface or voice commands. In this article, we’ll guide you through the process of setting up and using a Raspberry Pi as a Home Assistant device.
Step 1: Choosing the Right Raspberry Pi Model
The Raspberry Pi 4 Model B is the recommended choice for Home Assistant due to its improved performance and power efficiency. It has a quad-core 64-bit ARM Cortex-A72 CPU, 4GB of RAM, and a USB 3.0 port. This model also supports up to 2GB of Ethernet, making it ideal for networking your smart home devices.
Step 2: Preparing the Raspberry Pi
Before you begin, make sure you have all the necessary components. This includes a Raspberry Pi 4 Model B, a microSD card (at least 16GB), a power supply (5V/3A), a case, and a keyboard and mouse (optional).
Insert the microSD card into your computer and download the latest version of Raspbian Lite from the Raspberry Pi website. Write the image to the microSD card using a tool like Etcher.
Once the image is written, insert the microSD card into the Raspberry Pi and connect the power supply. The Raspberry Pi will boot up and you’ll be prompted to configure the network settings. Follow the on-screen instructions to connect to your Wi-Fi network.
Step 3: Installing Home Assistant
After the network settings are configured, you’ll be prompted to log in to the Raspberry Pi. The default username is “pi” and the password is “raspberry”.
Once you’re logged in, open a terminal window and update the package list using the following command:
sudo apt-get update
Next, install Home Assistant using the following command:
sudo apt-get install home-assistant
After the installation is complete, start Home Assistant using the following command:
sudo systemctl start home-assistant
Step 4: Adding Smart Home Devices
To add smart home devices to Home Assistant, you’ll need to configure them using the device’s specific integration. For example, to add a Philips Hue light bulb, you’ll need to add the Philips Hue integration.
To add an integration, go to the Home Assistant web interface and click on the “Supervisor” tab. From there, click on “Integrations” and then “Add Integration”. Follow the on-screen instructions to add the integration.
Once the integration is added, you’ll be prompted to configure the device. Follow the on-screen instructions to connect the device to Home Assistant.
Step 5: Controlling Smart Home Devices
After the devices are added, you can control them using the Home Assistant web interface or voice commands using a smart speaker like Amazon Echo or Google Home.
To control a device using the web interface, go to the Home Assistant web interface and click on the device. From there, you can turn the device on or off, adjust the brightness, and perform other actions.
To control a device using voice commands, enable the Home Assistant integration in your smart speaker’s app and then say a command like “Hey Google, turn on the living room light”.
Conclusion
Setting up and using a Raspberry Pi as a Home Assistant device is a great way to control your smart home devices. By following the steps outlined in this article, you’ll be able to set up your Raspberry Pi and add your smart home devices to Home Assistant. With Home Assistant, you’ll be able to control your devices using a web interface or voice commands, making your smart home more convenient and efficient.
b. Setting Up the Operating System: Install Raspbian, the official operating system for Raspberry Pi, and update it to the latest version
As the world becomes increasingly connected, the demand for smart homes has skyrocketed. Smart homes offer convenience, energy efficiency, and security, making them an attractive option for homeowners. One of the most popular platforms for building smart homes is Home Assistant, an open-source home automation software. In this article, we will guide you through the process of setting up and using a Raspberry Pi as a Home Assistant device to control your smart home.
Firstly, you will need a Raspberry Pi board, a microSD card, and a power supply. We recommend using the Raspberry Pi 4 Model B, as it offers better performance and supports up to 4GB of RAM. Insert the microSD card into your computer and download the latest version of Raspbian, the official operating system for Raspberry Pi, from the Raspberry Pi website. Write the image to the microSD card using a tool like Etcher.
Once you have the microSD card prepared, insert it into the Raspberry Pi board and connect it to a monitor, keyboard, and mouse. Power on the Raspberry Pi and follow the on-screen instructions to set up the operating system. During the setup process, connect to the internet using an Ethernet cable or Wi-Fi.
After the operating system is installed, update it to the latest version using the following command:
sudo apt update && sudo apt upgrade -y
Next, install Home Assistant using the following command:
sudo apt install home-assistant
After the installation is complete, start Home Assistant using the following command:
sudo systemctl start home-assistant
Home Assistant will now be running on your Raspberry Pi. Open a web browser and navigate to http://your-raspberry-pi-ip-address:81 to access the Home Assistant interface. If you are unsure of your Raspberry Pi’s IP address, you can find it by running the following command:
hostname -I | awk ‘{print $1}’
Once you are in the Home Assistant interface, you will be prompted to set up your account. Follow the on-screen instructions to create a new account or sign in with an existing one.
Now that you are logged in, you can start adding devices to your smart home. Home Assistant supports a wide range of devices, including smart lights, thermostats, cameras, and sensors. To add a device, click on the “+” icon in the left-hand menu and select the device you want to add. Follow the on-screen instructions to connect the device to Home Assistant.
Once your devices are added, you can start creating automations and scenes. Automations allow you to automate tasks based on certain conditions, such as turning on the lights when you arrive home. Scenes allow you to create customized experiences, such as a movie night scene that dims the lights and turns on the TV.
To create an automation, click on the “Automation” tab in the left-hand menu and click on the “+” icon. Follow the on-screen instructions to create your automation. To create a scene, click on the “Scenes” tab in the left-hand menu and click on the “+” icon. Follow the on-screen instructions to create your scene.
In conclusion, setting up and using a Raspberry Pi as a Home Assistant device to control your smart home is a straightforward process. By following the steps outlined in this article, you can create a smart home that is convenient, energy-efficient, and secure. Remember to always follow safety precautions when working with electronics, and consult the official documentation for more information. Happy smart home building!